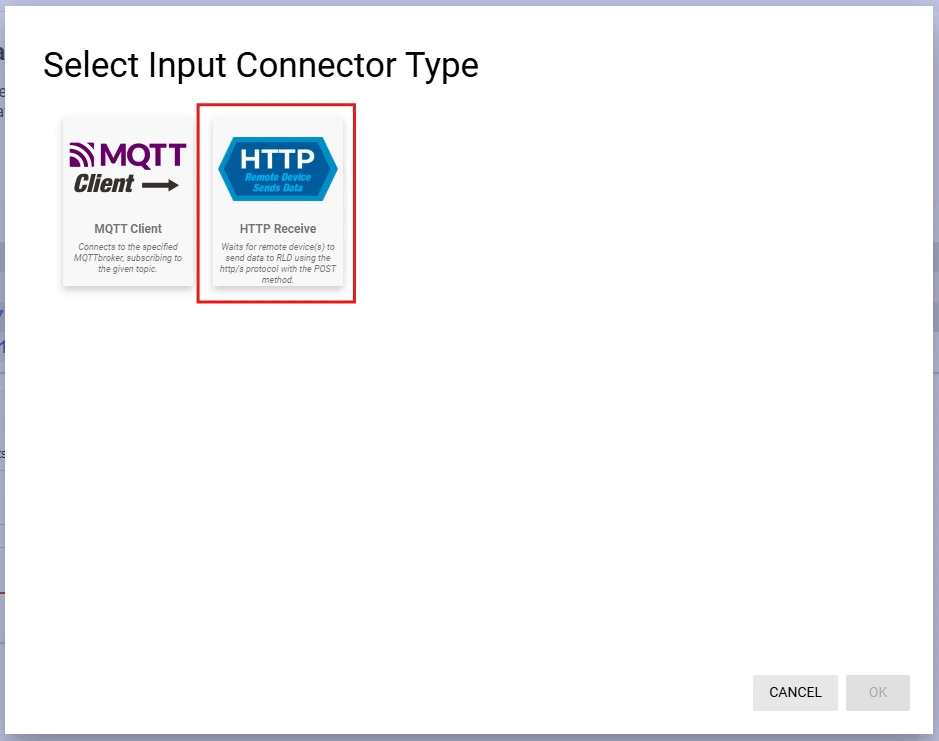
For this "Getting Started" tutorial we will be making an HTTP connector that recieves and translates data. If you are interested in MQTT or more complicated Input Connectors then see Input Connectors.
Click to create a new Input Connector on the sidebar and give it a name (EX: "First Incon")

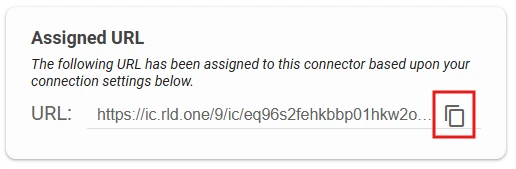
Use one of the following commands depending on your Operating System, and replace <assigned_URL> with the URL
we got from last step
Linux/macOS Terminal
curl -X POST -H "Content-Type: application/json" -d '{"id":1, "date":"Fri Apr 04 2025 15:22:44 GMT-0500 (Central Daylight Time)","data": {"temp":96.1, "psi":60.1}}' "<assigned_URL>"Windows PowerShell
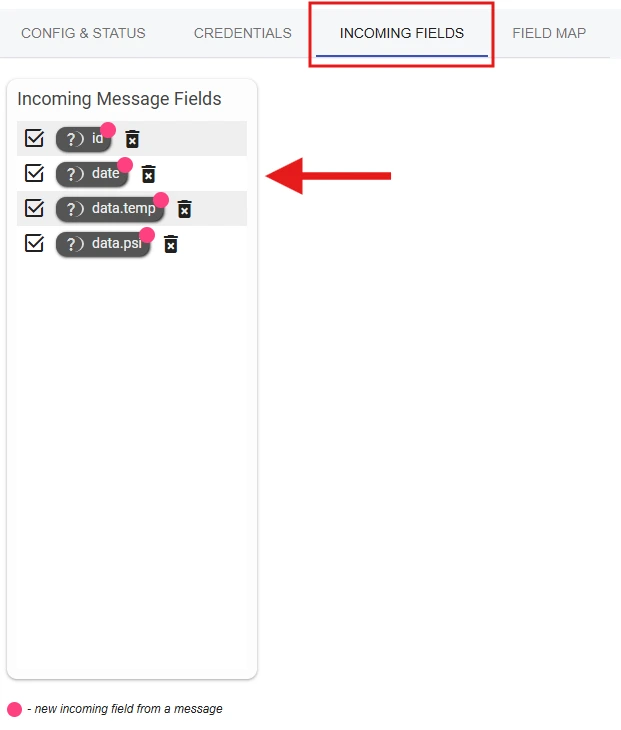
curl.exe --ssl-no-revoke -X POST <assigned_URL> -H "Content-Type: application/json" -d '{\"id\":1, \"date\":\"Fri Apr 04 2025 15:22:44 GMT-0500 (Central Daylight Time)\",\"data\": {\"temp\":96.1, \"psi\":60.1}}'Go to the INCOMING FIELDS tab and make sure you recieved your data. It should look like this:
Next go to the FIELD MAP tab and Watch the following video to see how to map your fields
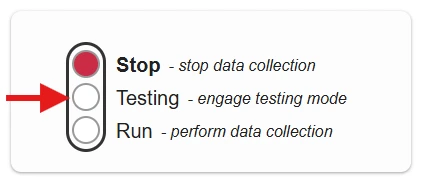
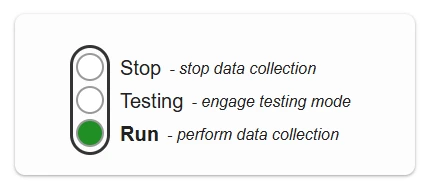
Once in run mode, any data that comes in will go directly into your RLD database
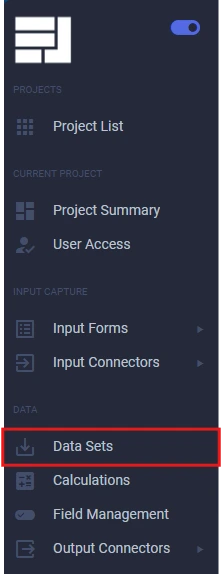
Use the command from step 5 again to push data into your system. Then go to datasets on the sidebar
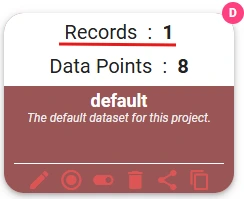
You should see that your dataset has 1 (or more) records in it:
 Wiki
Wiki