To get started go to reallifedata.net and click on "Editor" in the top right corner. Once you have signed in you will be redirected to the Project List. Select the project you'd like to create an app for.
Go to Sign Up and your 1st Project where it will lead you through creating your first project, and explain what a project is.
Click on Graphs in the RLD editor sidebar. Then click on Add Graph.
Give a name to your new Graph (we suggest "Test") and click Create.
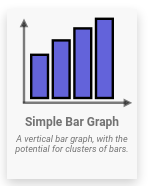
Select the Simple Bar Graph (find more info on the others in the Visualizations Section) and click "OK".
Find on the sidebar and click on it.
Drag  to your X-Axis.
Drag  to your Y-Axis.
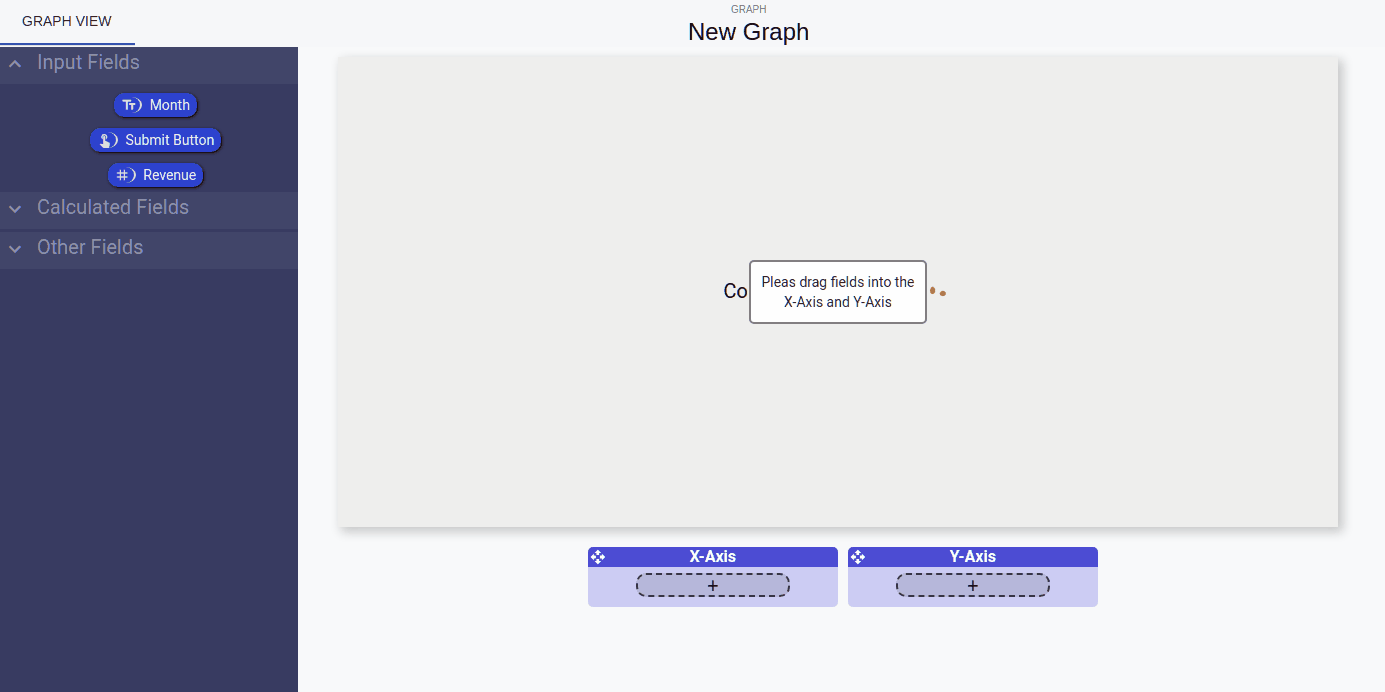
You now have a working graph. Lets preview it.
To preview your graph find on the right sidebar and click on it.
Then click Preview Graph
If you hover over the graph you will notice some animations and hover values.
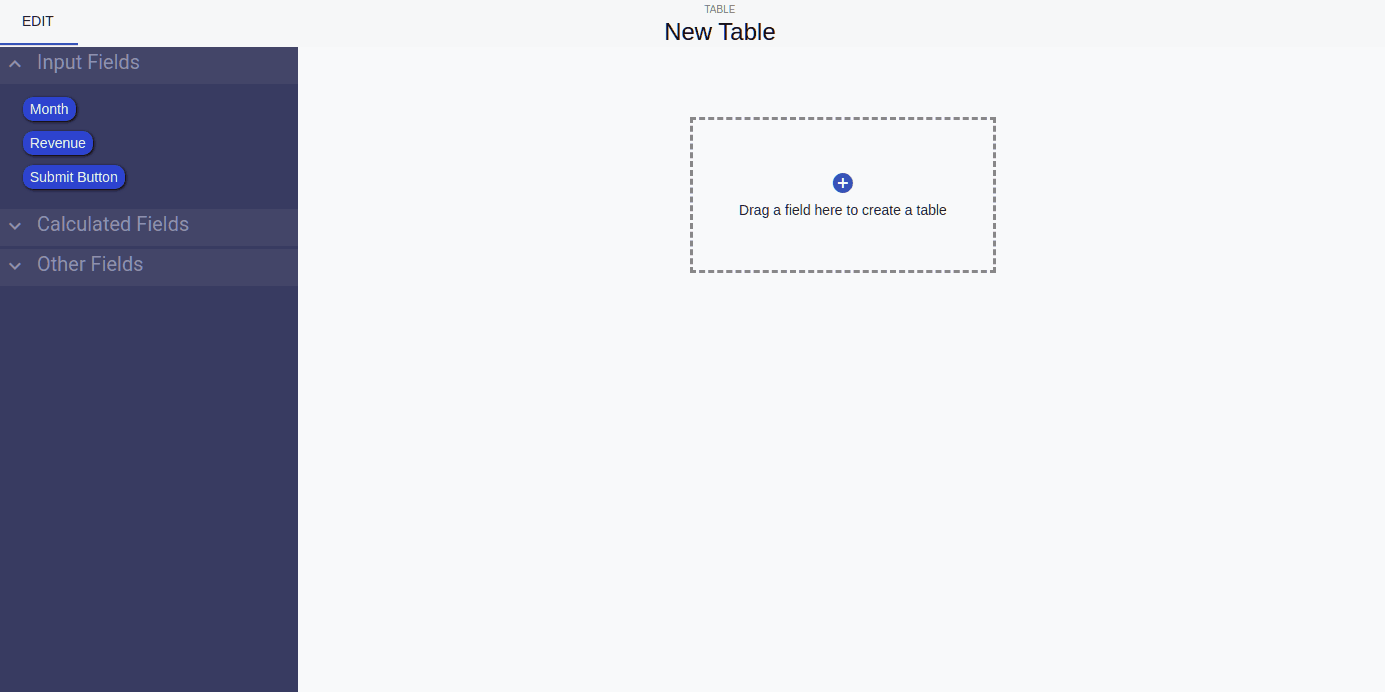
Click on Tables in the RLD editor sidebar. Then click on Add Table.
Give a name to your new Table (we suggest "Test") and click Create.
Find on the sidebar and click on it.
Drag  and
and  onto your table like below.
To check our Calculations from earlier in "Getting Started" drag  ,
,  , and
, and  onto your table as well.
You now have a working Table. Lets preview it.
To preview your table find on the right sidebar and click on it.
Then click Preview Table
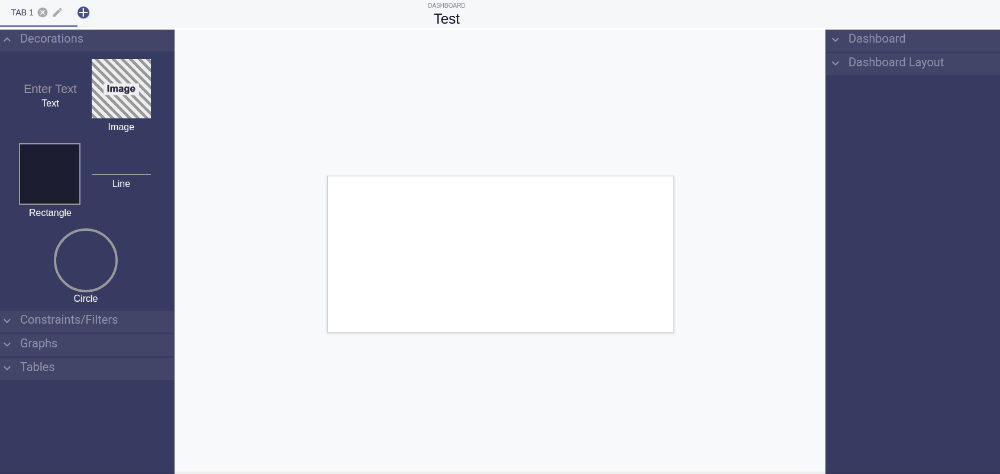
Click on Dashboards in the RLD editor sidebar. Then click on Add Dashboard.
Give a name to your new Dashboard (we suggest "Test") and click Create.
Find on the right sidebar and click on it. If you are looking to make this dashboard for a certain device, select that one. For this guide we will select Phone Standard
Find on the left sidebar and click on it.
Drag in some text to the top of the dashboard. Find on the right sidebar, click on it, then enter "Test Dashboard" into the text box.
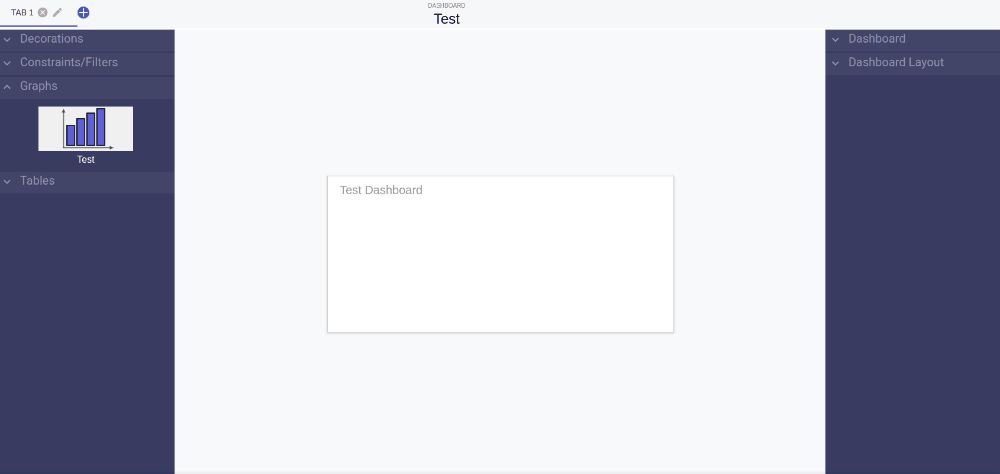
Find on the left sidebar and click on it.
Drag in the first graph you see like below. Resize the graph to take up a larger portion of the dashboard.
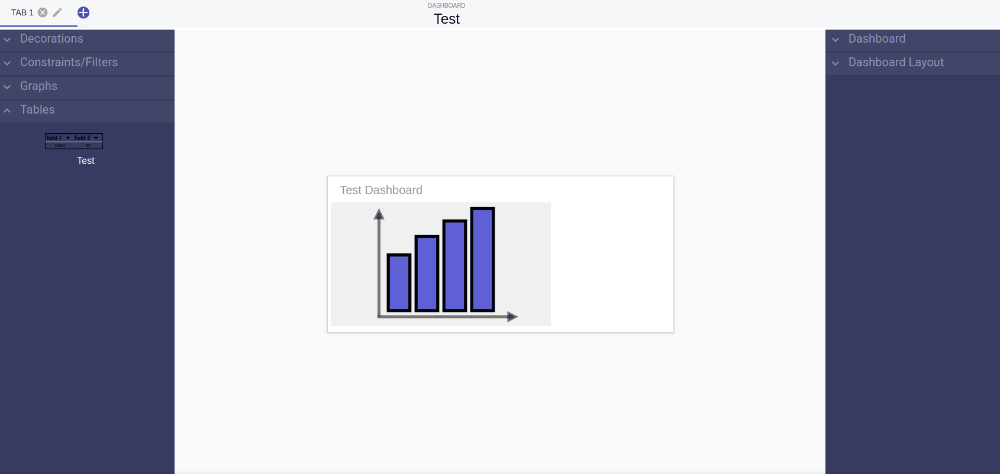
Find on the left sidebar and click on it.
Drag in the first Table you see like below. Resize the Table to take up an appropriate space.
You now have a working Dashboard. Lets preview it.
To preview your table find on the right sidebar and click on it.
Then click Preview Dashboard
In this section we will be
Go to the Real Life Data Website. Click in the top right corner. A drop down will appear. Click on If you do not see in the top right corner, go ahead and click
This will take you to the app store for your device. Once you're there go ahead and install it.
Once you're done installing, open the app and login.
If this is your first view you will see 1 App show up on your list of Views. It should contain the name and any description you put in for your form. You will notice a small icon showing us what the form looks like.
Click on the 1 App you see.
As easy as that your app is now running on your phone. Enter in some text then click submit to test it.
Luckily RLD Apps can run on the web as well as in app. For Laptops we suggest running on the web.
First go to Go to the Real Life Data Website. Click * in the top right corner. Login and you will be redirected to a list of Views. We have created a graph, a table, and a dashboard, so should see 3 small icons. Click on the dashboard icon.
And as easy as that you are now running your view app on your laptop or personaal computer! Enter in some text and click the submit button to test it out.
 Wiki
Wiki