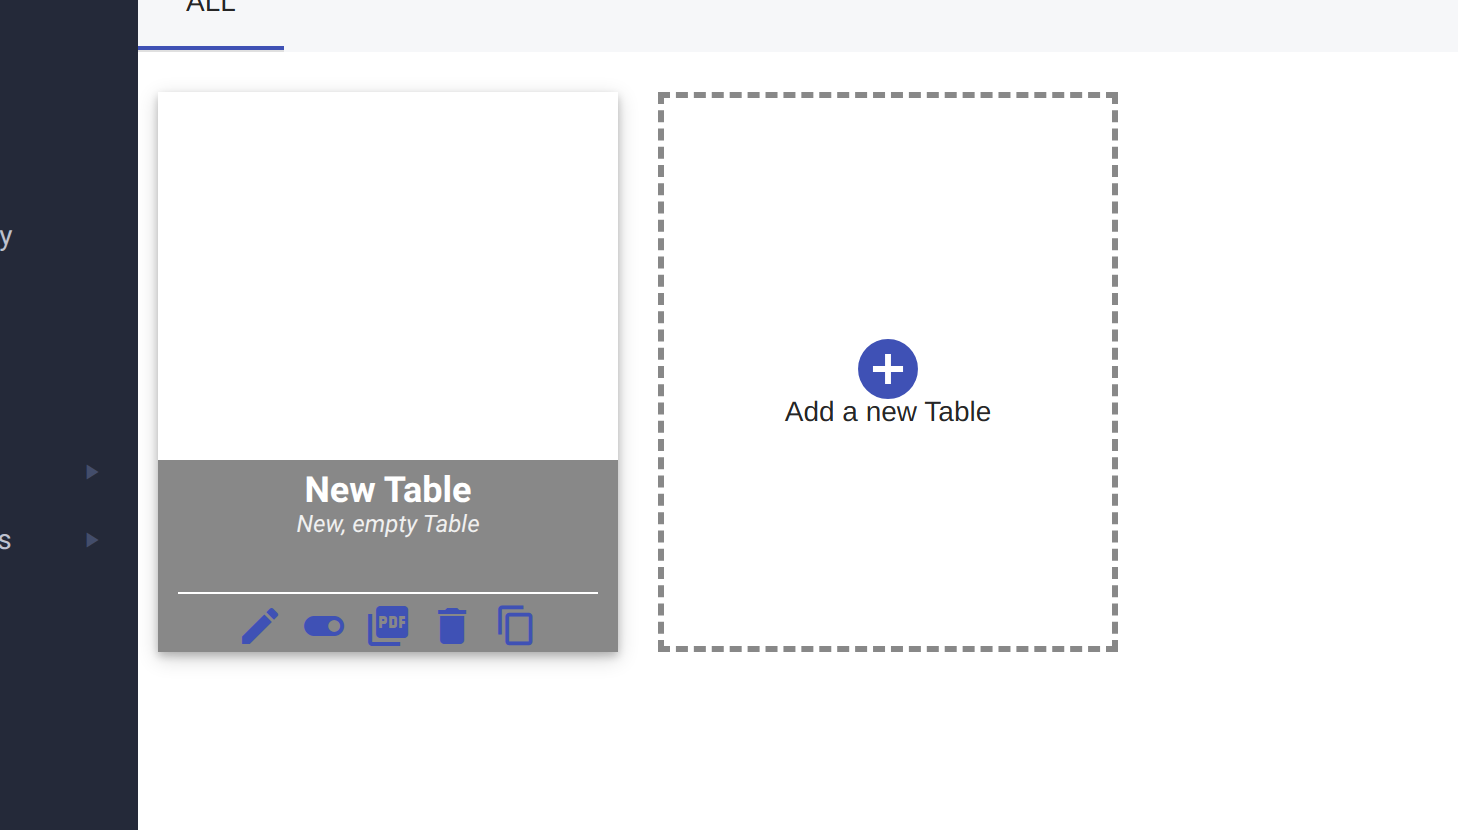
If you already made a table, you can skip to step 2
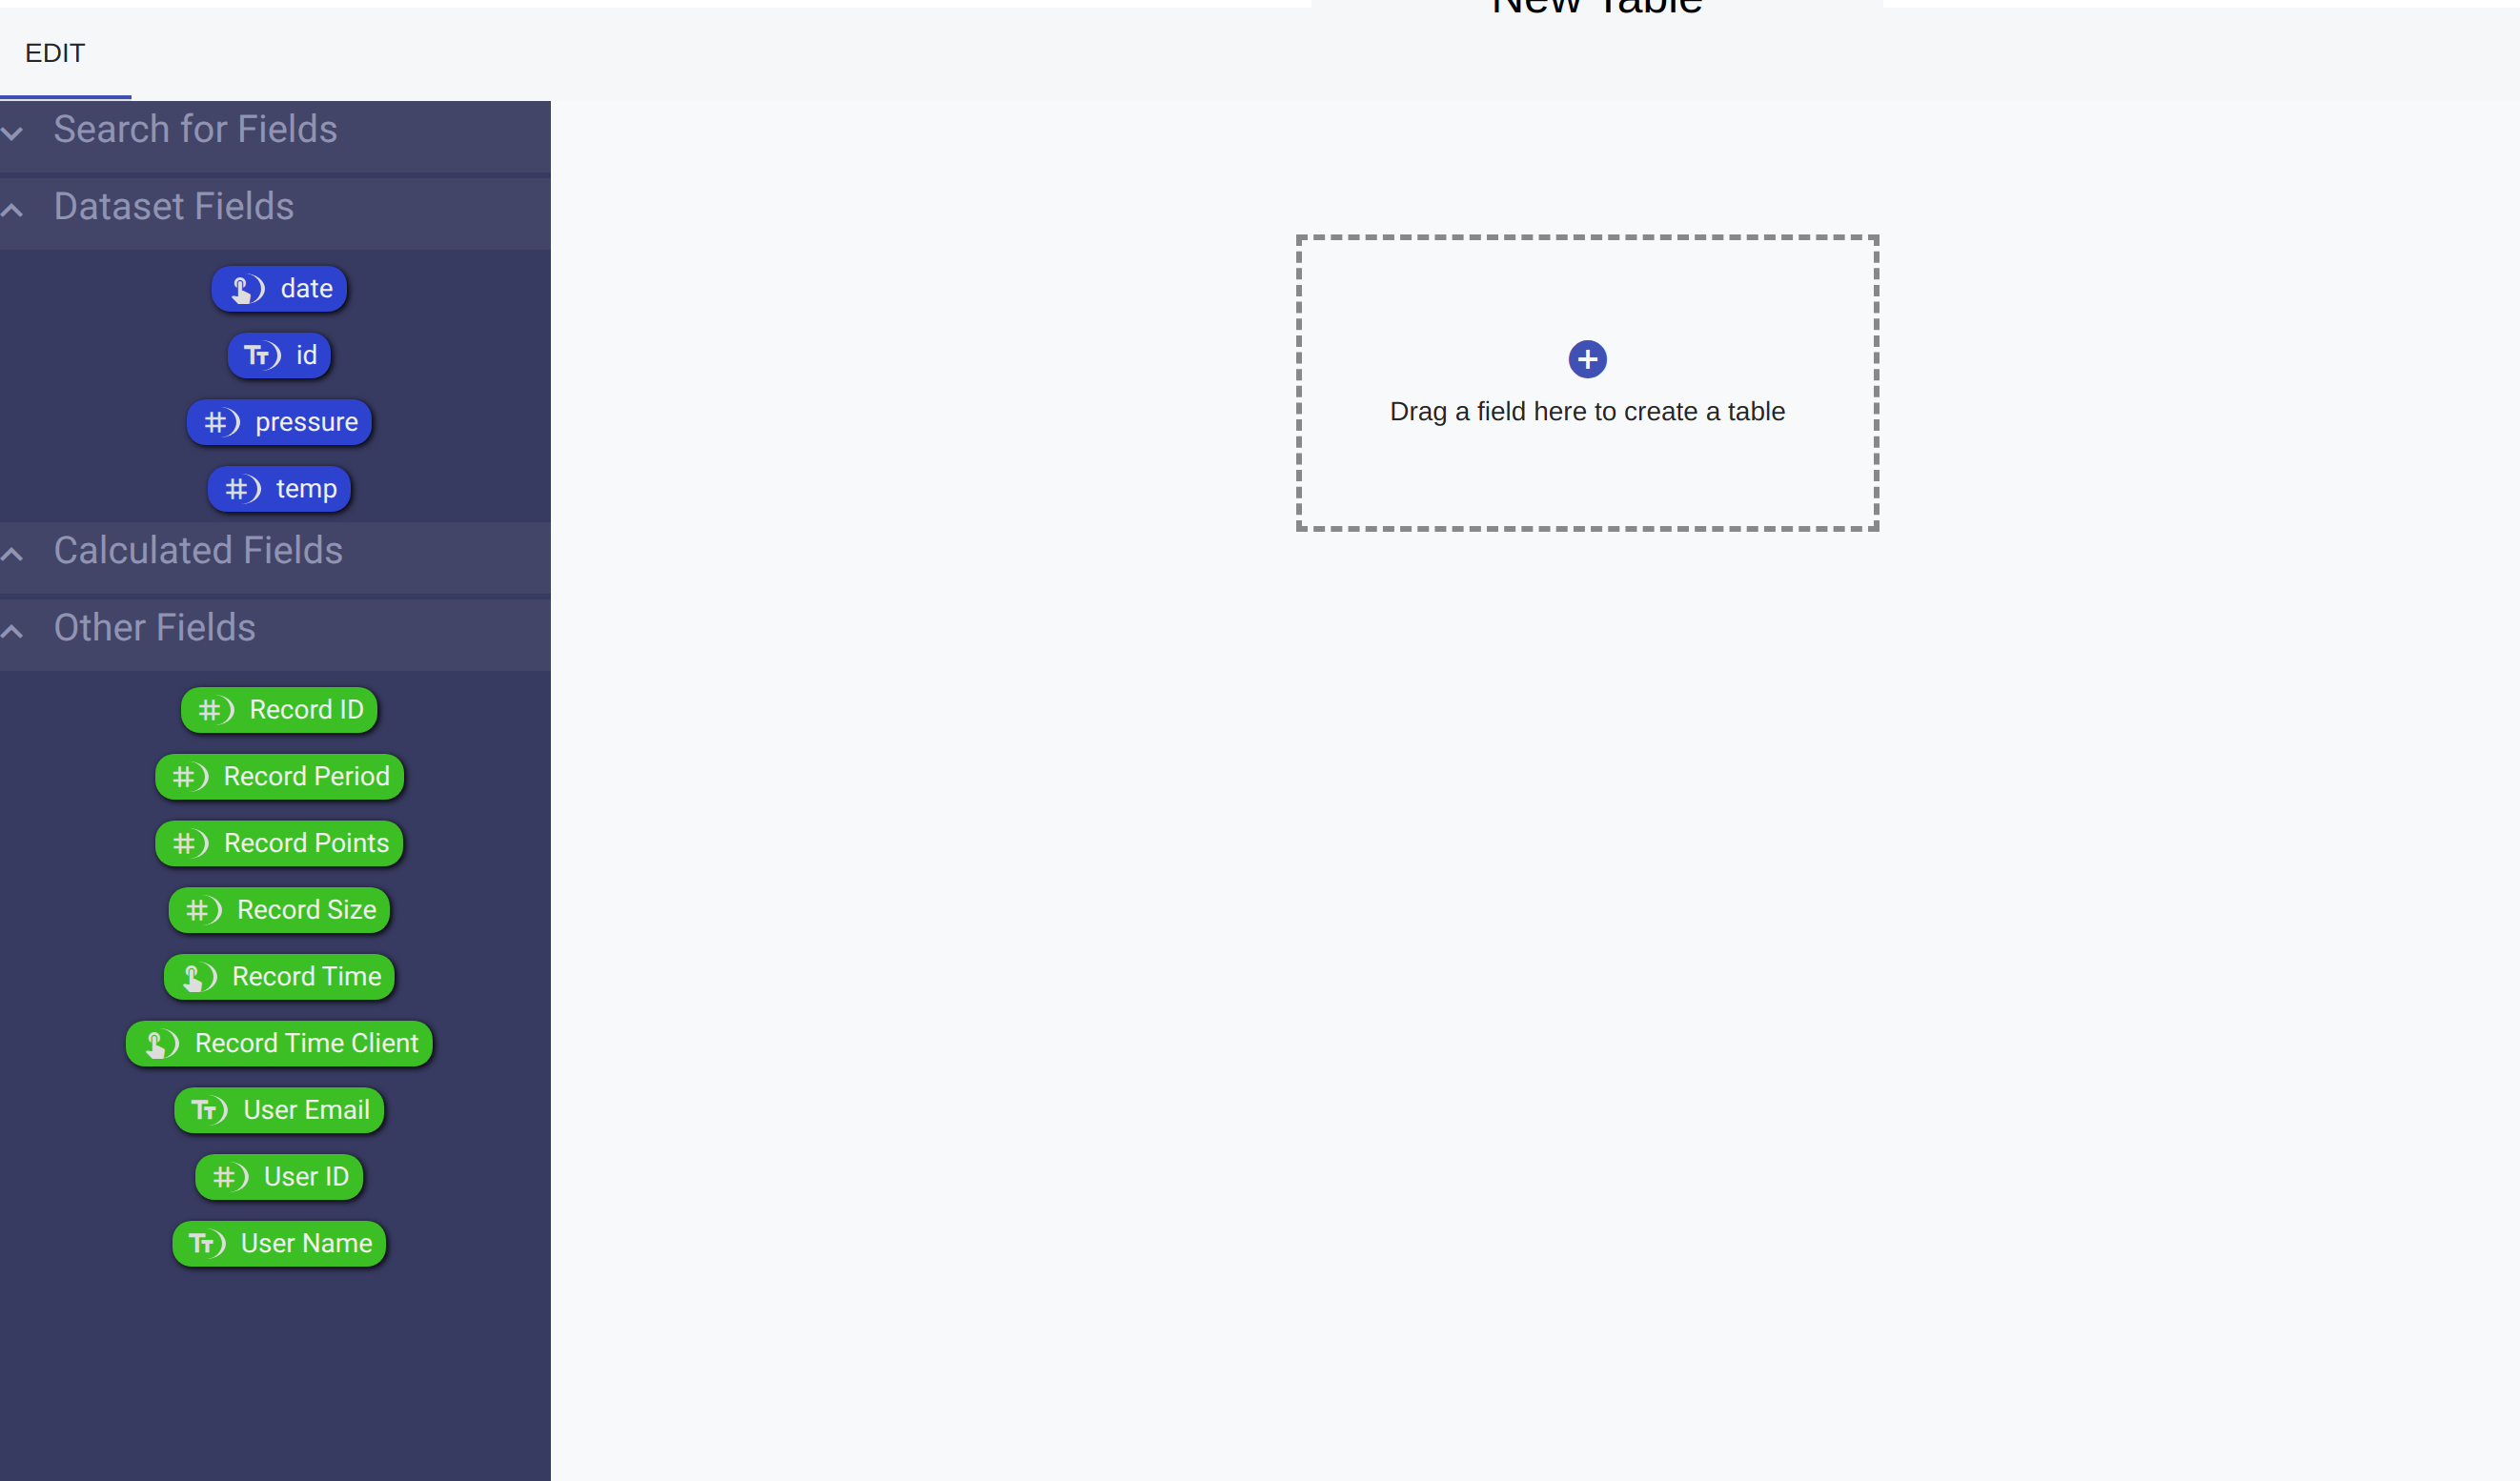
You can use the side panel to drag fields into your table.
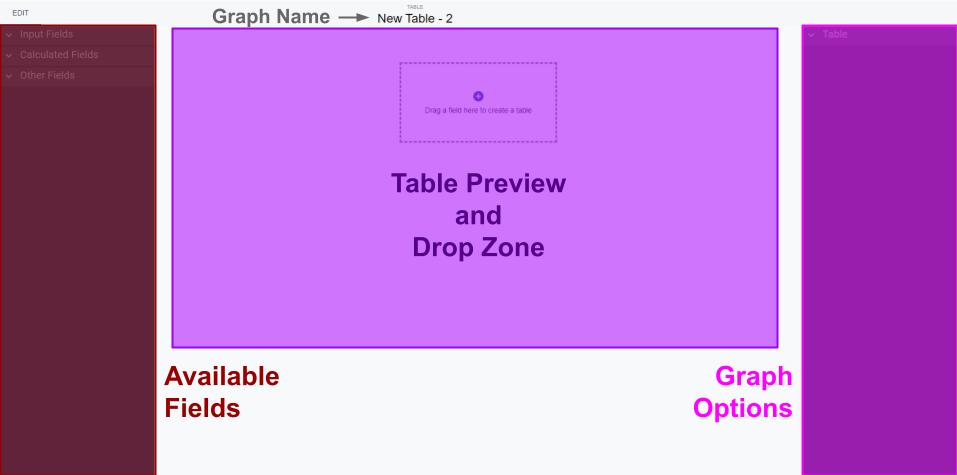
When setting up your table, you have several options you can configure
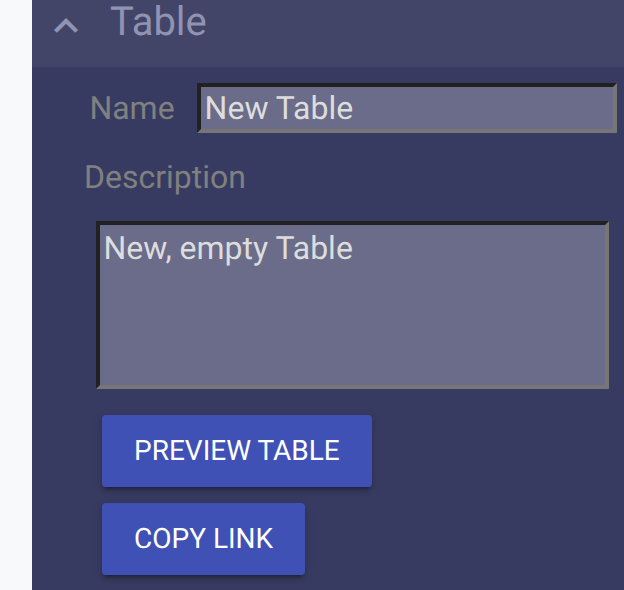
Here you can configure the name and description of your table. You can also preview your table. This preview is what your table will look like in the RLD One View app.
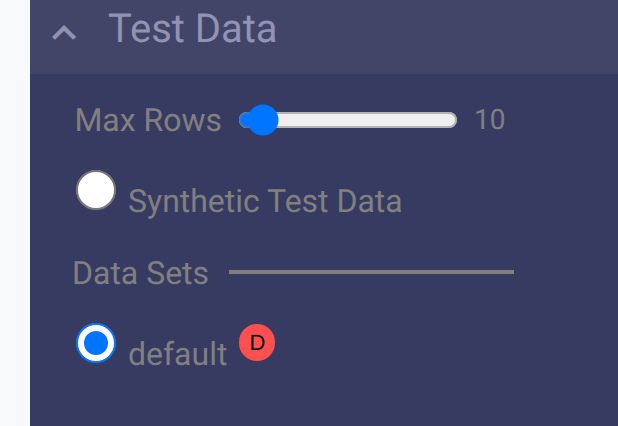
By default, your table will only show a max of 10 rows regardless of whether or not you have more data in your dataset. You can adjust the Max Rows slider to change how many rows the table will render.
RLD allows you to use synthetic data. This can be useful when you want to configure a table before you have any data in your system. When you select Synthetic Test Data, RLD will generate random data for the field types in your table.
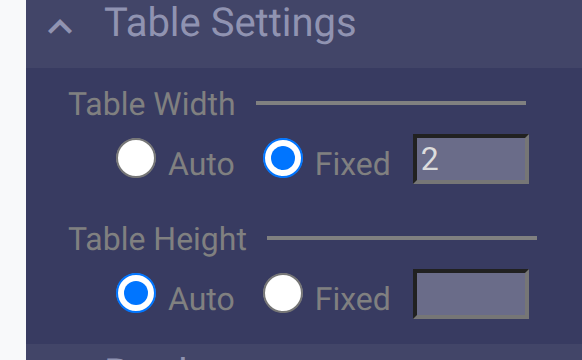
Here you can adjust the width and height of the columns of your table.
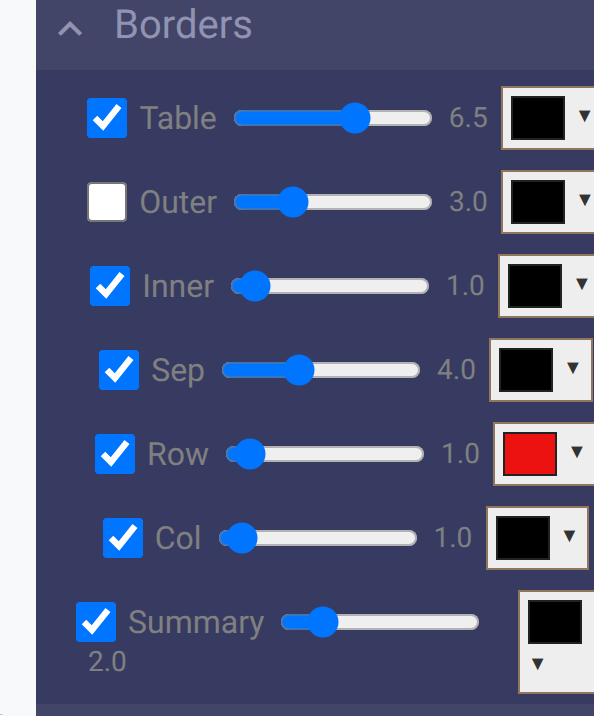
Here you can adjust the thickness and colors of various options in the tables.
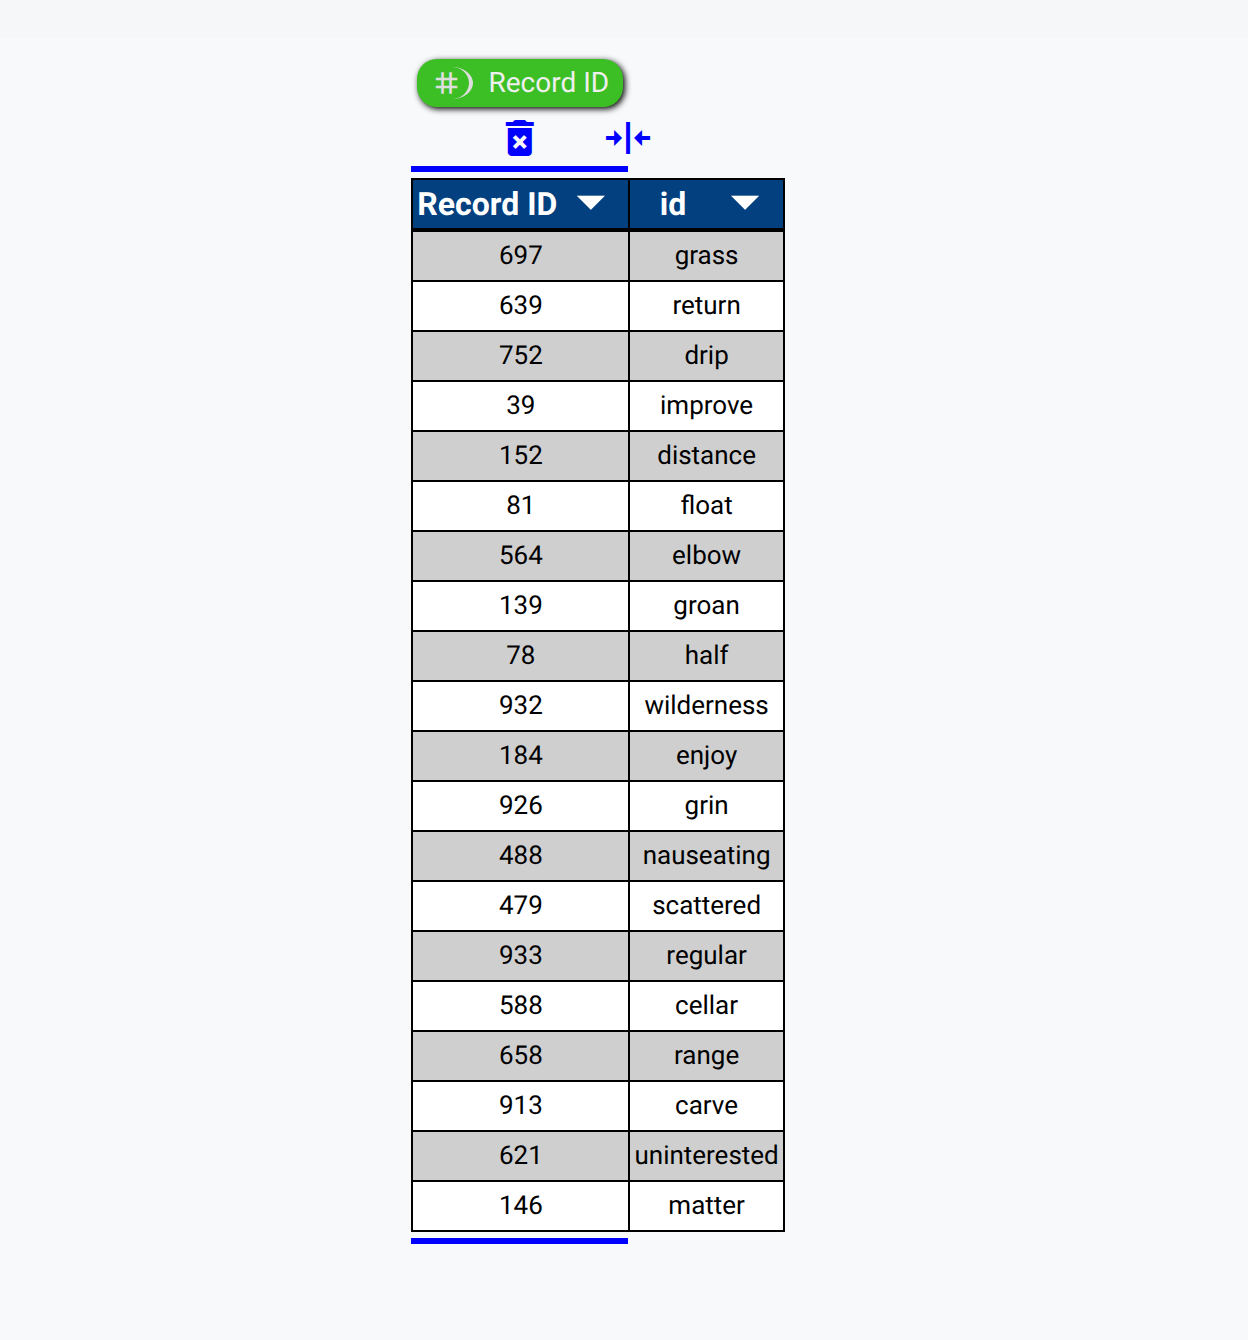
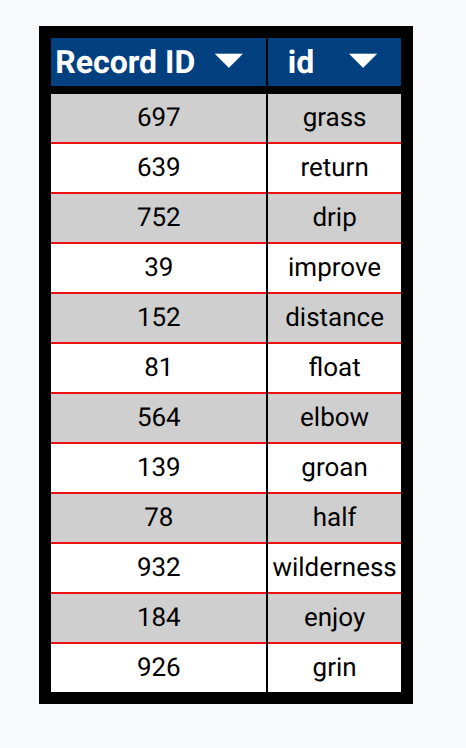
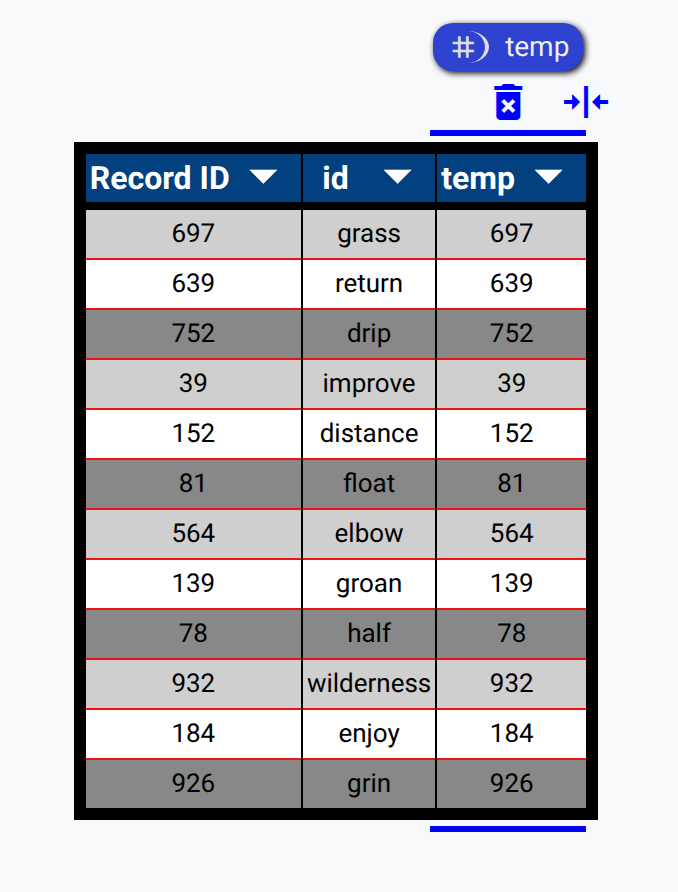
Here's an example of what changing some of the options can do.
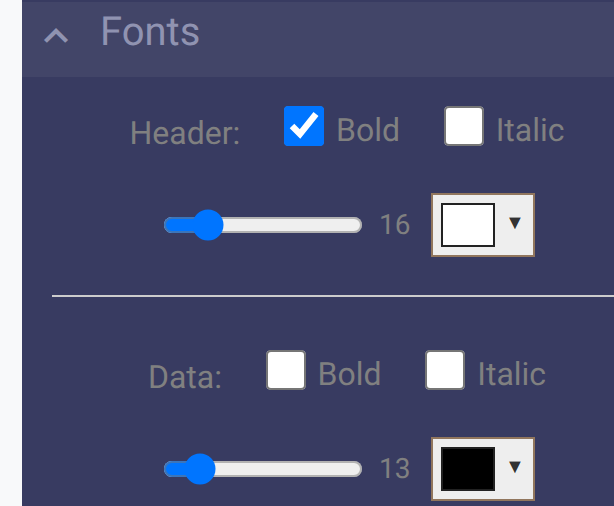
Here you can change options about the fonts used in the table, as well as the size of the fonts.
Header controls the fonts used at the top of the table
Data controls the fonts used for the rows after the header
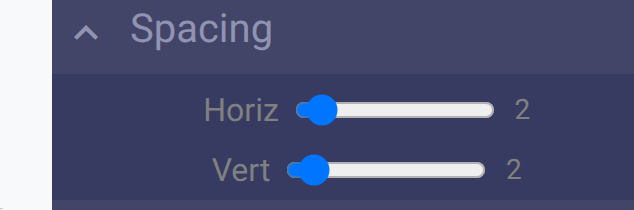
Here you can change the horizontal and vertical spacing in the cells of your table.
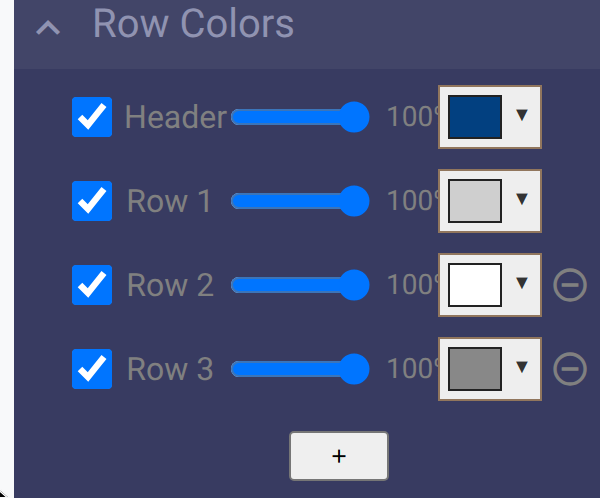
Here you can change the colors of the header and row cells.
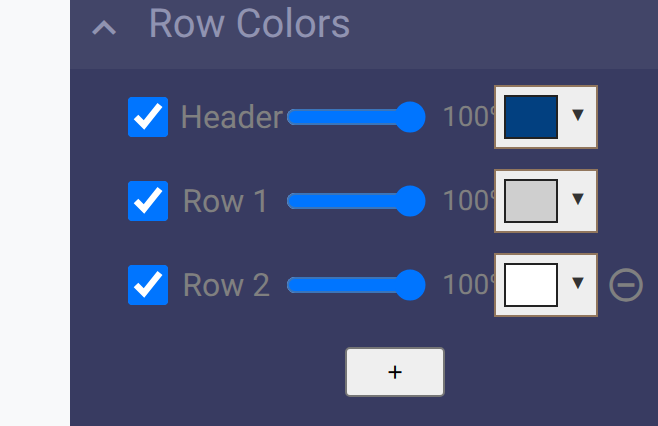
By default, there is a 2-color color scheme. Every 1st row gets a color and every 2nd color gets a different one. You can also add rows to the color scheme and color every 3rd row, or every 4th row, etc.
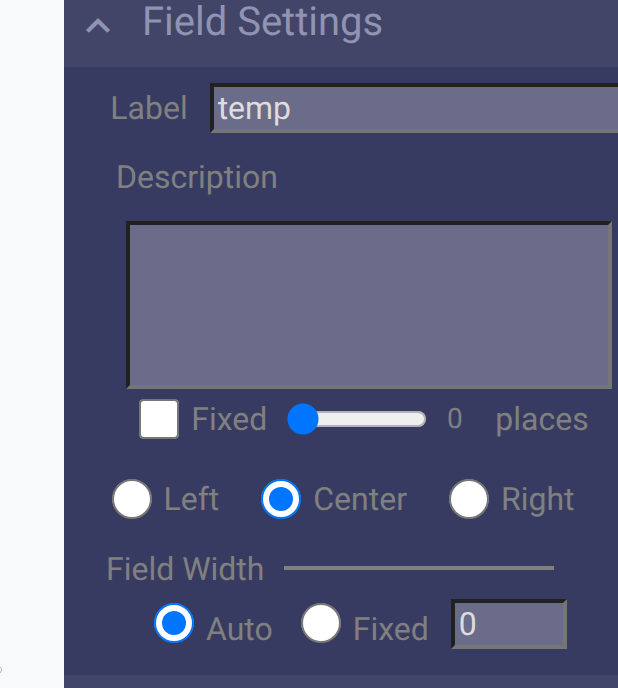
If you click on a column, you'll see 2 additional options appear in the side panel. These are field specific options.
Here you can change options about a specific field/column. You can rename the column in the table and configure rounding (if it's a number). You can also change the text justification as well as the field's width.
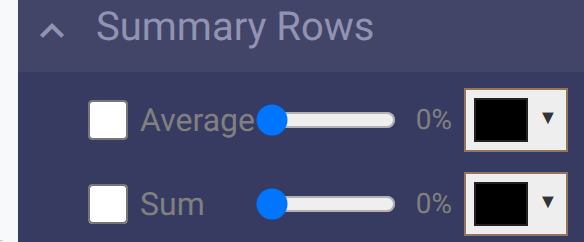
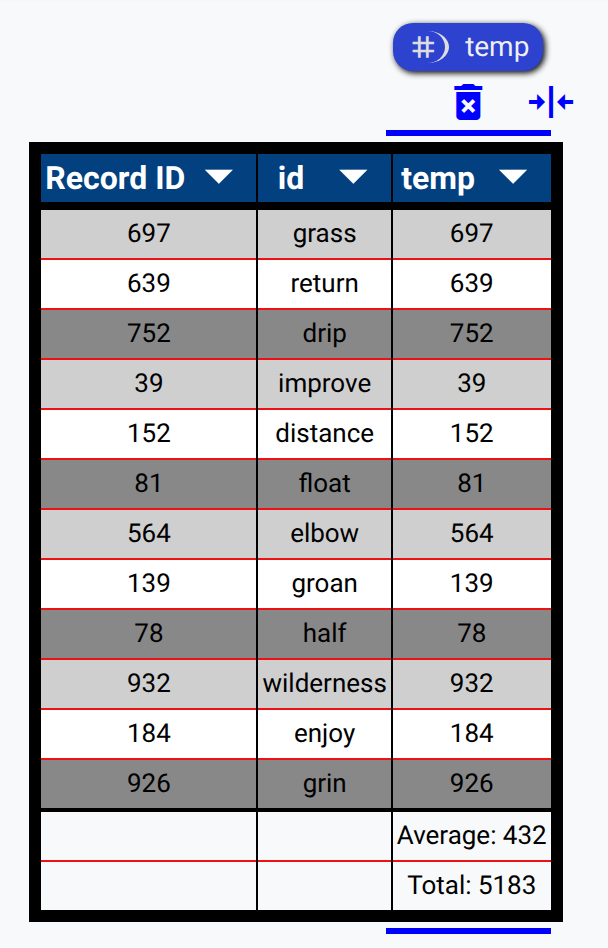
Summary rows let you append rows with aggregate data to the end of your table.
For example, you can add a Sum and Average to the end of the column you've selected.
 Wiki
Wiki